
Custom Debian packages are available for KEBA-based systems to provide a clean and reproducible way to deploy the Wabot robot visualization — including Docker runtime, USB synchronization, and web-based visualization.
This approach enables a professional, scalable, and maintainable deployment workflow for industrial environments.
Available Packages
| Package | Description |
|---|---|
| Wabot PLC Base | Base system including Docker runtime and USB synchronization |
| Wabot App | Web-based robot visualization for control and monitoring |
Installation via KeStudio
Preparation
1. Register the GPG key (required once)
Before installing the packages, the signing key must be registered:
- Download the GPG keys ZIP
- Extract the archive
- 열기
gpg-keysfolder - Double-click
register-key.bat
The script automatically detects the path toKeStudio Software Service Client.exe.
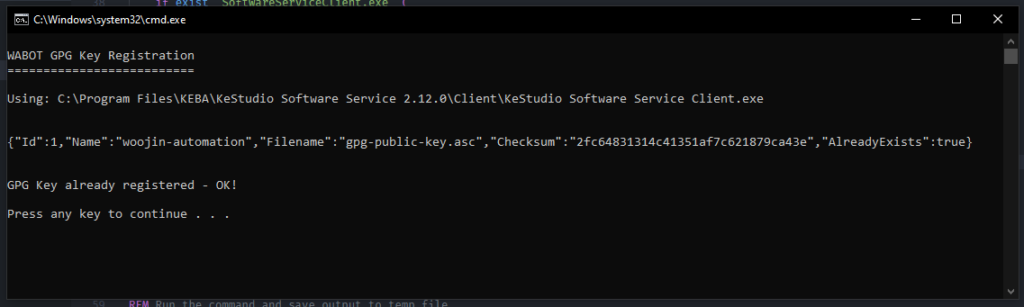
Requirement:
KeStudio Software Service must be installed
(usually located atC:\Program Files\KEBA\KeStudio Software Service X.X.X\)
2. Add Software Units
- Download the ZIP artifacts from GitLab Releases
- Extract the ZIP
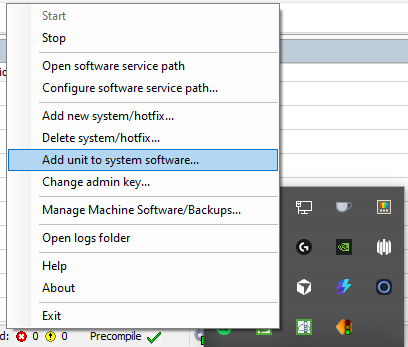
- Right-click the Software Service icon in the system tray
→ Add unit to system software…
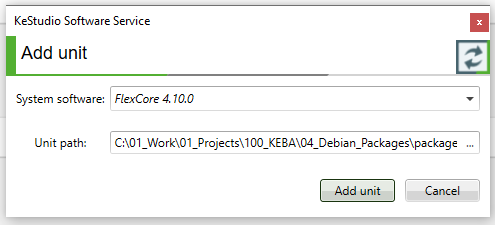
- Select the
meta.xmlfile from the extracted folder
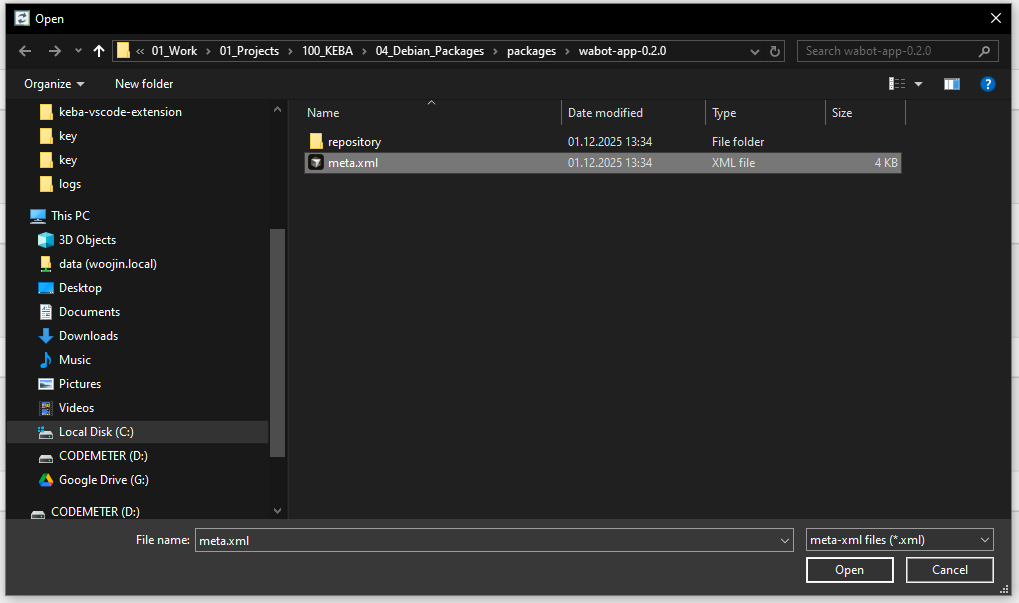
- Confirm the unit path and click Add unit
After that, the packages will appear correctly inside the Software Service:
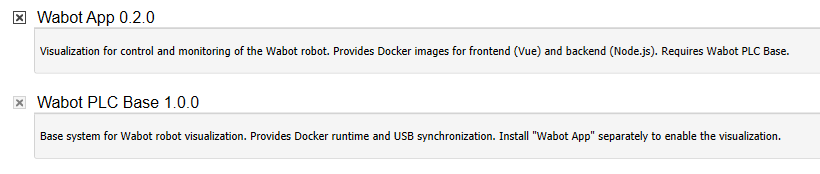
- Make sure both of the software services are checked before installation!
3. Change SSH Key
- Prepare Woojin SSH Key
- Right-click the Software Service icon in the system tray
→ Change admin key…
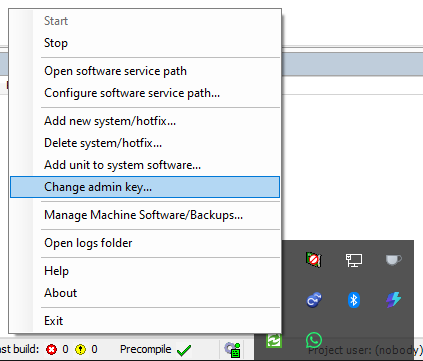
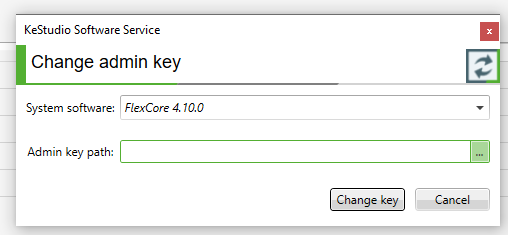
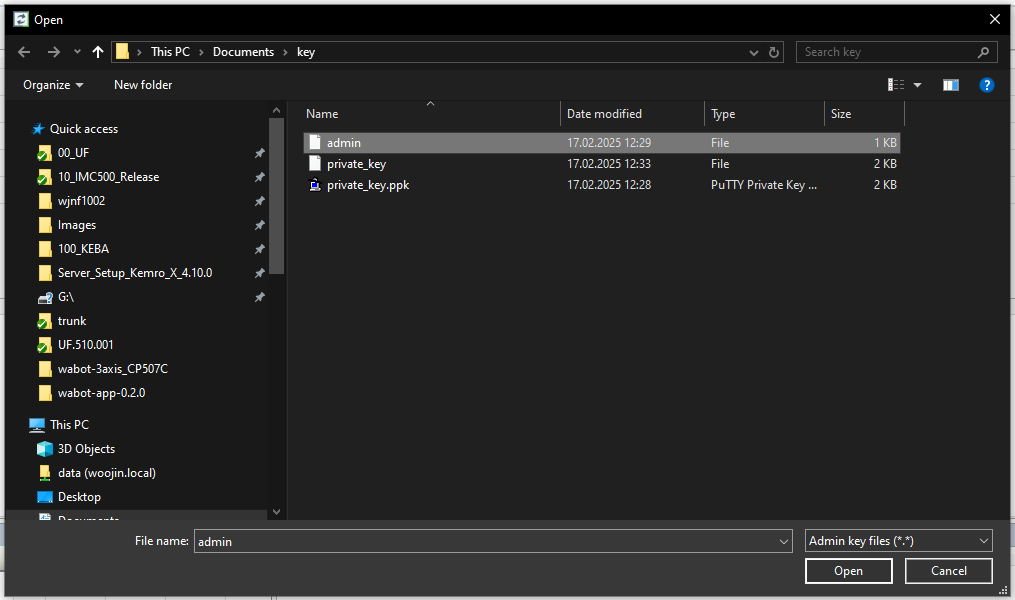
- Select Woojin public SSH Key
- 확인하다 the other dialogs
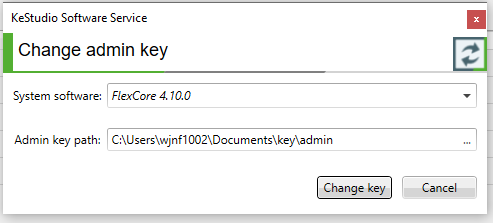
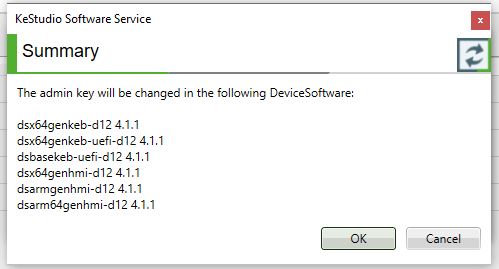
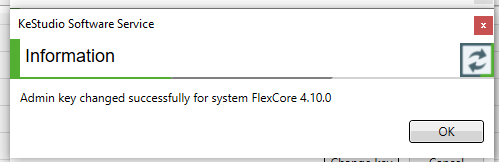
- Successfully changed!
Installation
Create Machine Software USB
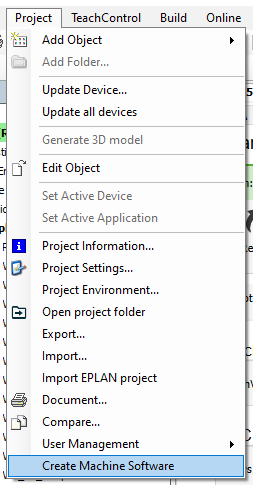
- Open your project in KeStudio
- Switch to the Project tab
- Click: Create Machine Software USB…
- Make sure device settings are correct (ip address, subnet, gateway, dns)
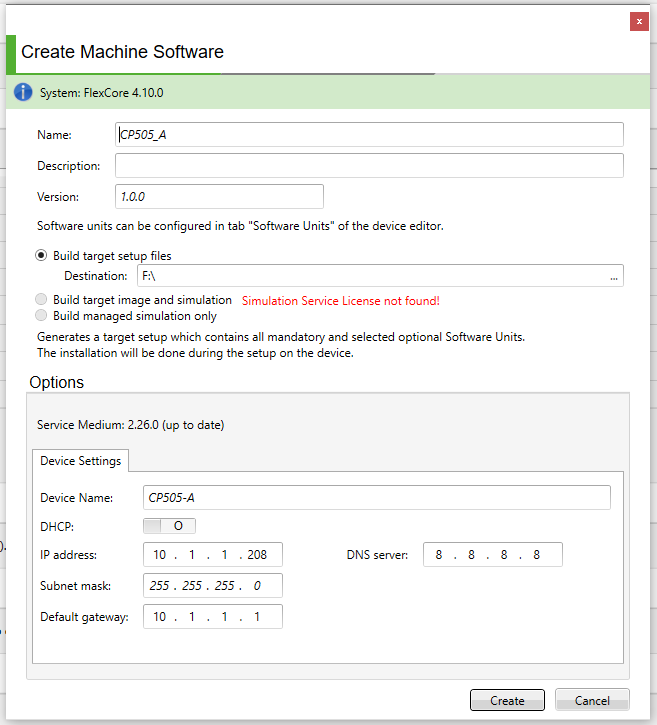
- Choose Destinaton: your usb stick
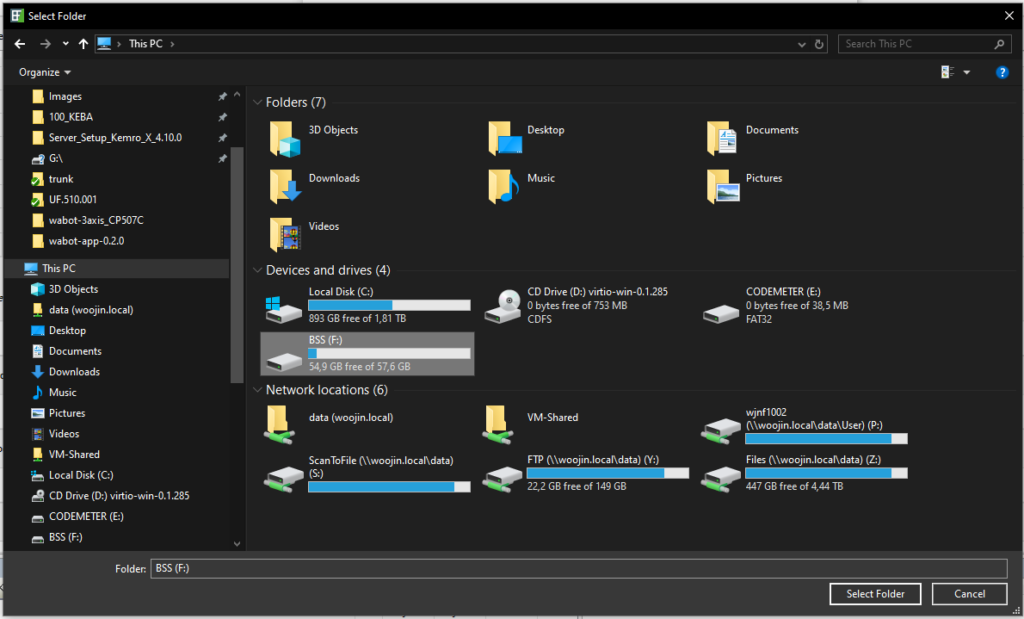
- If your USB is not prepared for KEBA, you have to run “Prepare Service Medium” one time

- After finished, Click on “Create“
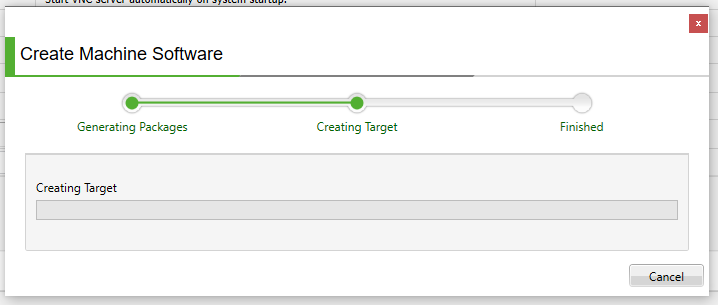
- Wait till finished
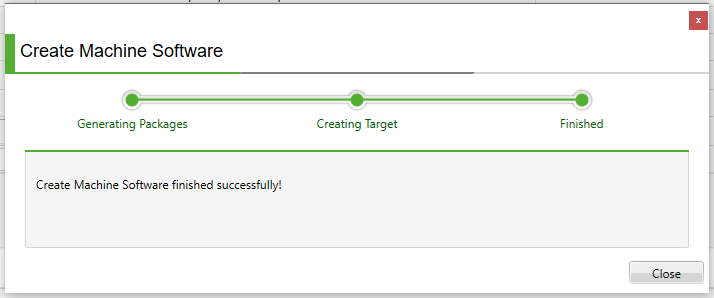
- Success! Your USB is ready to install firmware on the PLC
USB Installation on PLC
- Plug the prepared USB stick into the USB port of the PLC.
- Reboot the PLC. This can be done in one of the following ways:
- By performing a power cycle (disconnect and reconnect the power supply), or
- Via KeStudio, if an online connection to the controller is available
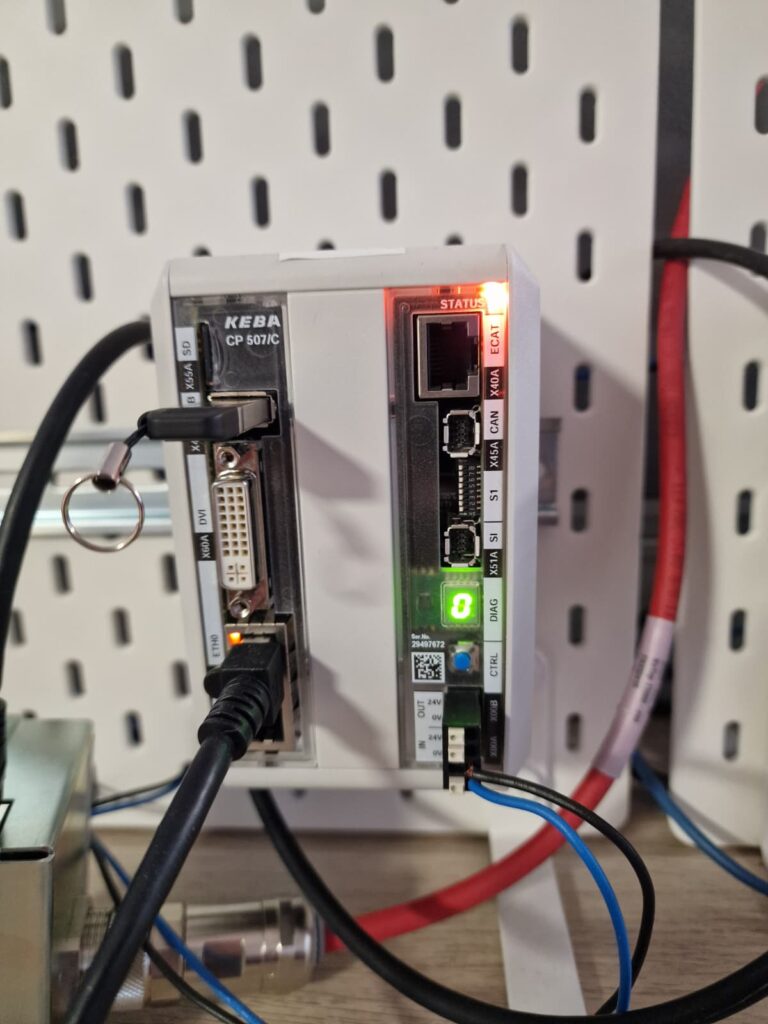
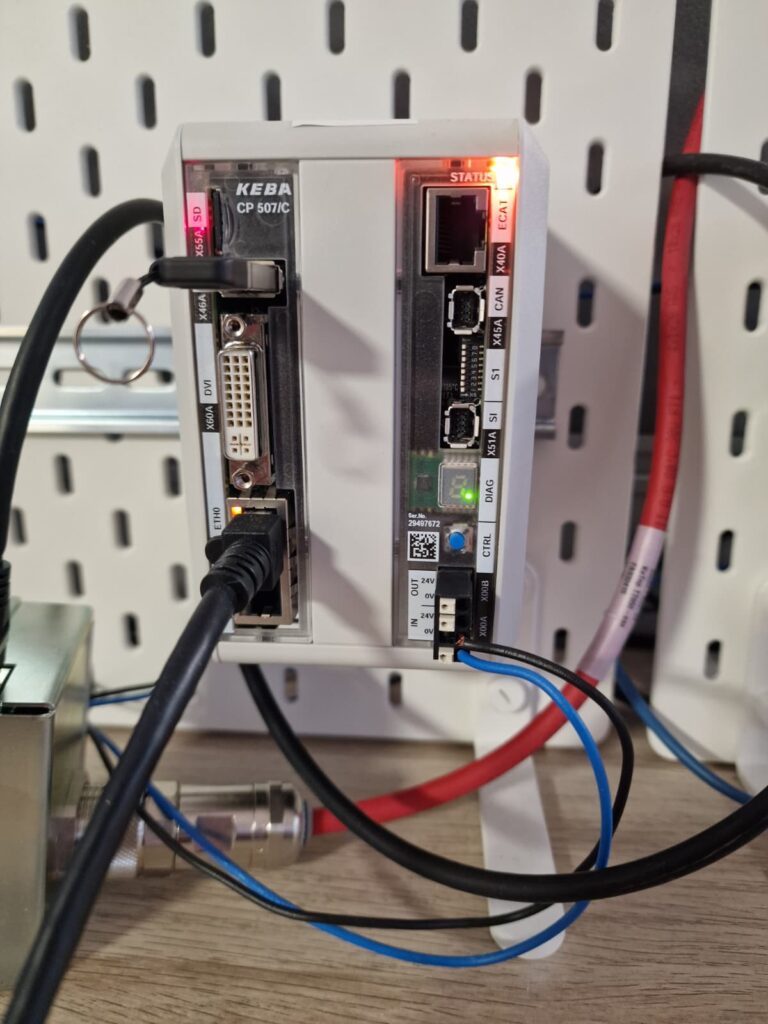
- After booting, once the PLC reaches RUNNING mode, the 7-segment display will show: “0“
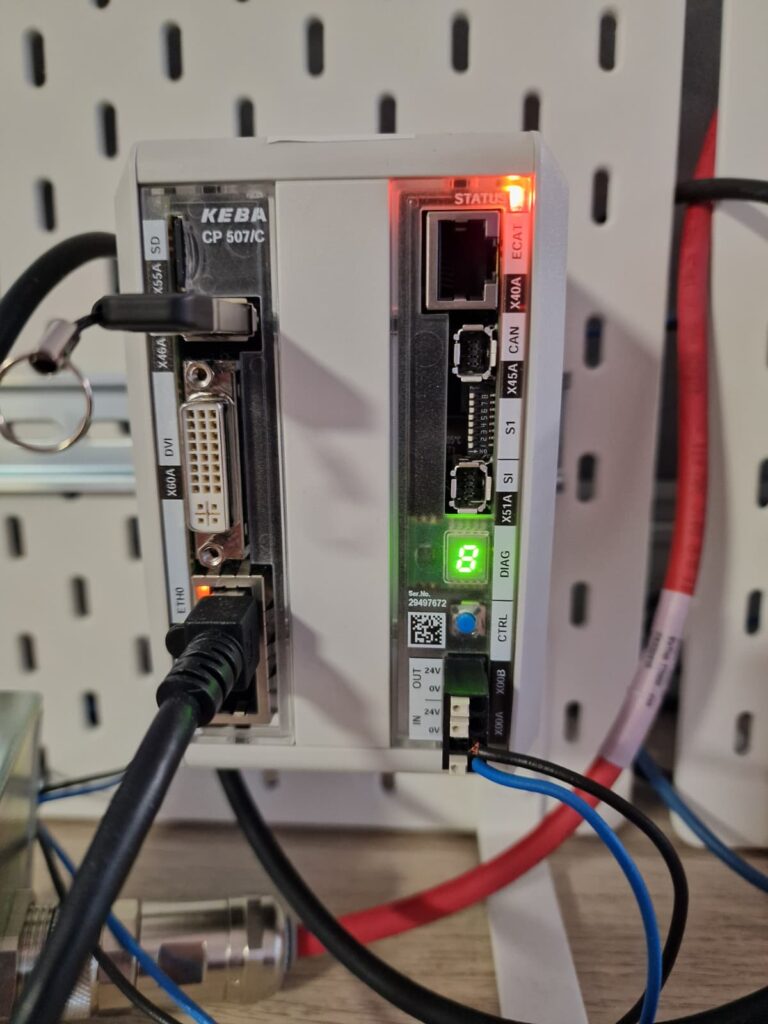
- Press and hold the blue button on the PLC until the display changes to: “8“
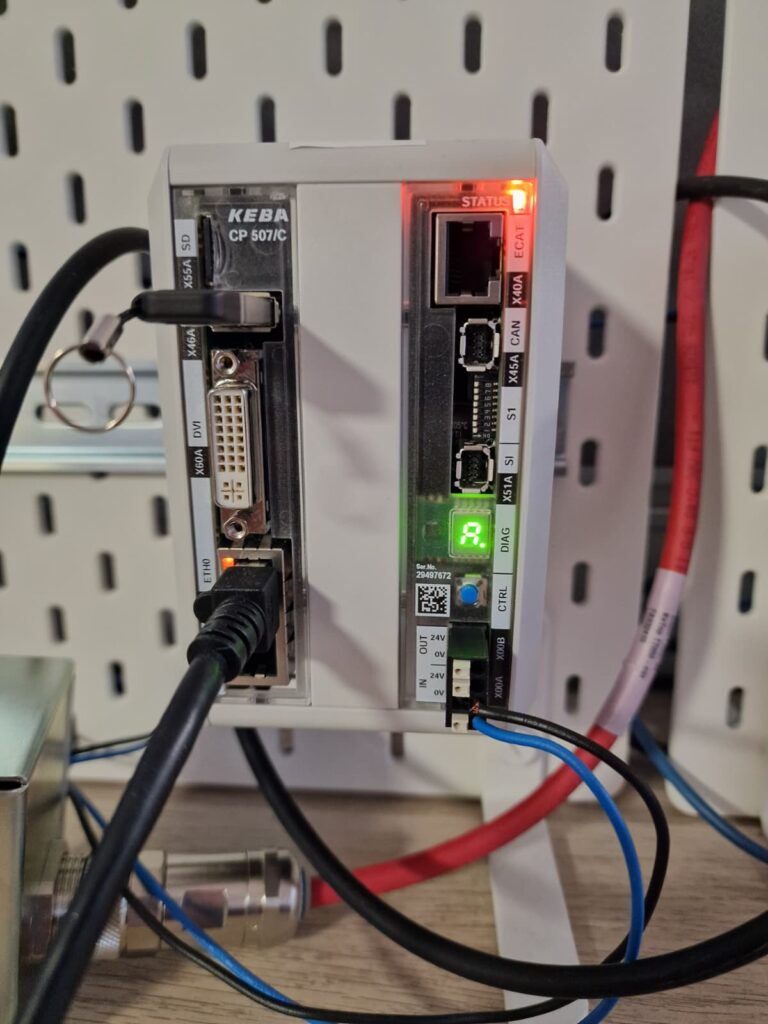
- Release the button, then press it once briefly. The display will change to: “에이“
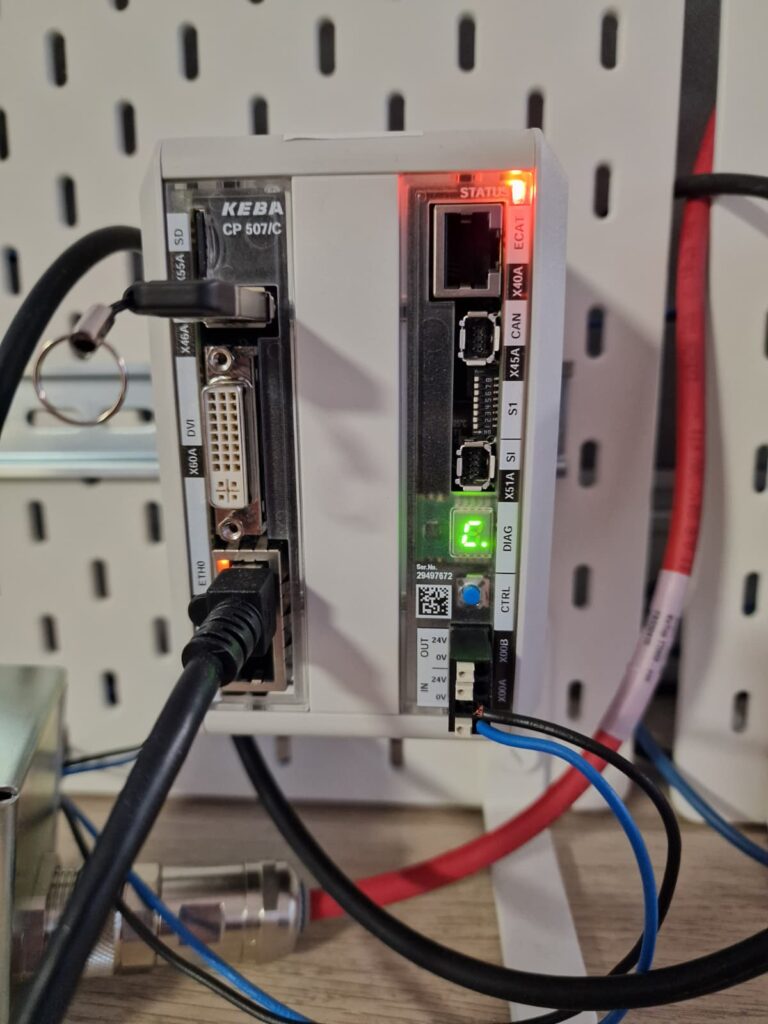
- Press and hold the button again until the display shows: “C“
- Press and hold the button once more until the display starts alternating between:”_” and “.”
- This indicates that the image installation process has started.
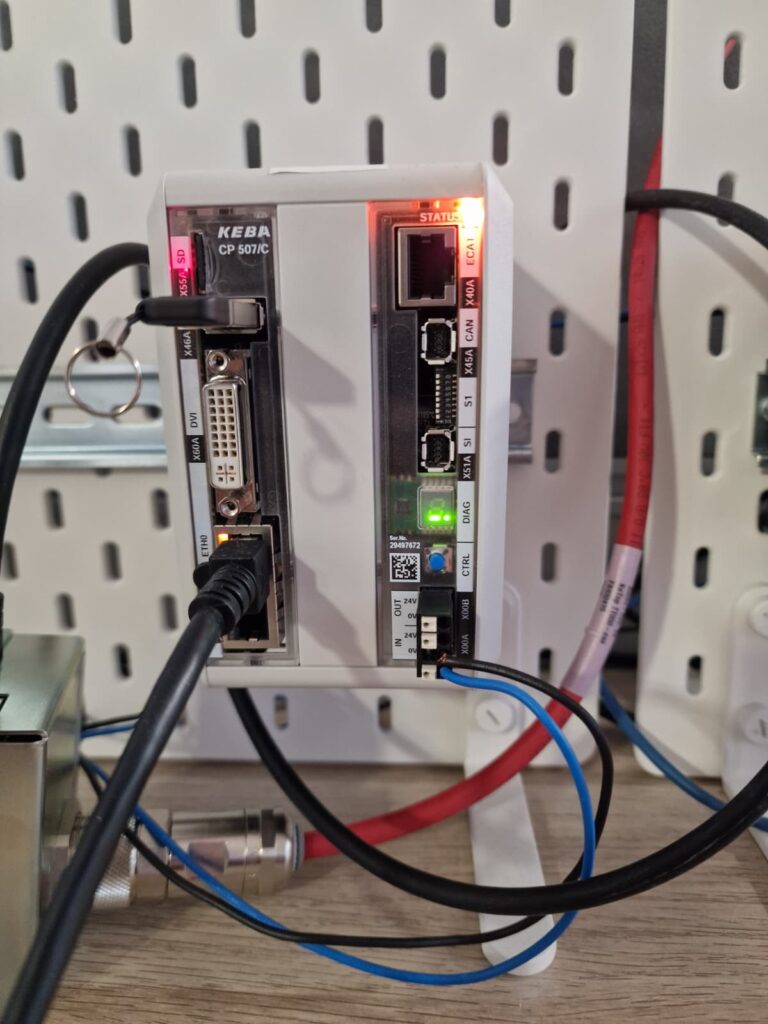
- Once the process completes:
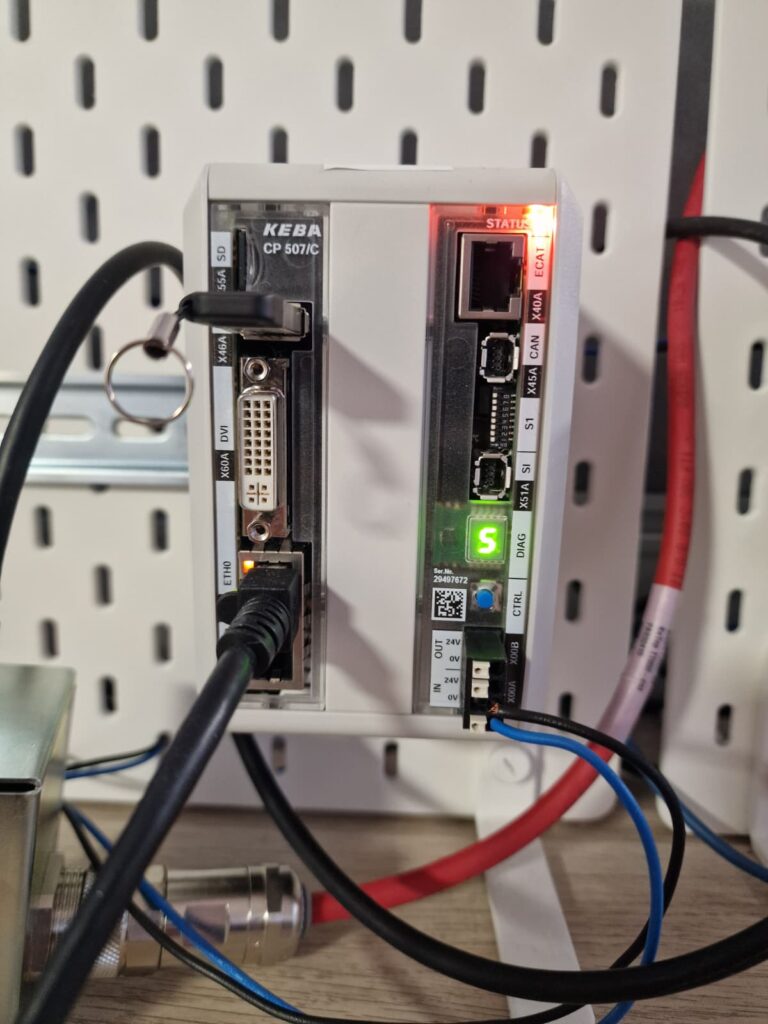
- ✅ If successful, the display will show:
에스(Success) - ❌ If the installation fails, the display will show:
F(Failure)
- ✅ If successful, the display will show:
- Unplug the USB and reboot the PLC
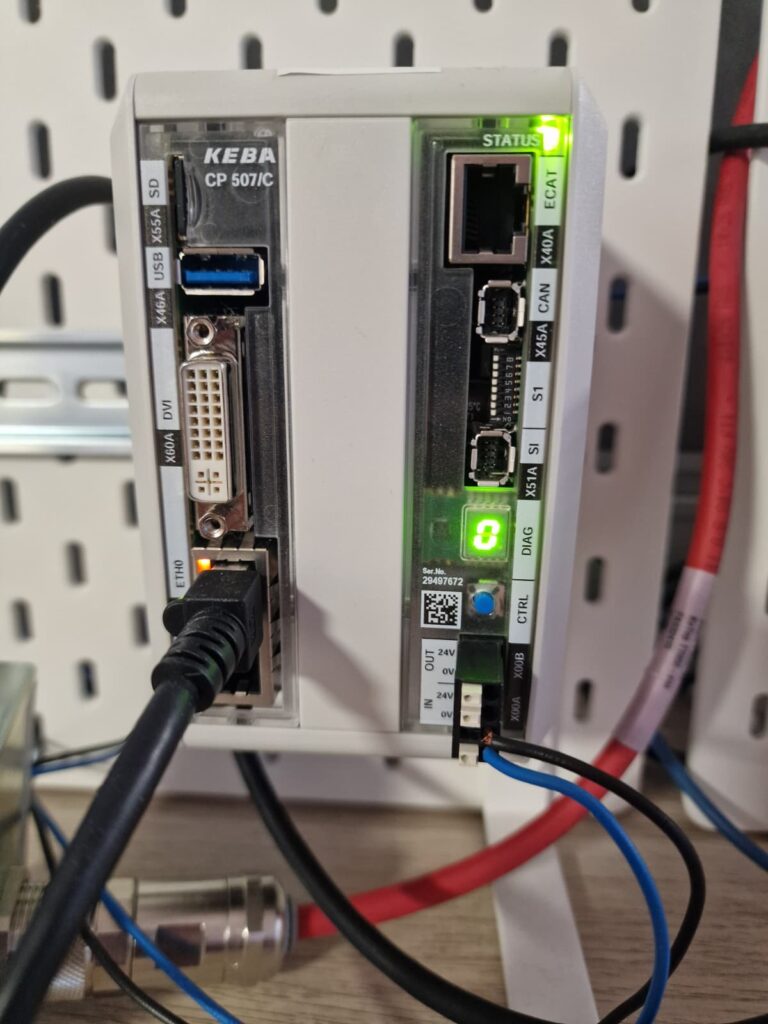
- PLC shows “0” again – Successfully installed!